An ultimate guide to oat milk
PUBLISHED AUG 1 2020
Whether this is your first rodeo or your hundredth, there’s always more to learn about homemade oat milk. Today, I detail the lessons I’ve learned from my many trials and tribulations, ways to expand upon a foolproof recipe, new delicious flavors, and advice on handling leftover oat pulp.
Oat milk is by far my favorite milk, in taste but also so much more. It’s vegan, dairy-free, gluten-free (as long as you use certified GF oats), nut-free, soy-free, and it also saves the environment some heavy lifting. I hope you find this guide useful!
Oat milk basics
I won’t keep you waiting—here’s the recipe! Blend together 4 cups of water, 1 cup of oats, 1 teaspoon of vanilla extract, a pinch of salt, and sweetener to taste. Then, strain the mixture with a tea towel or cheesecloth to separate the oat milk from the oat pulp. Sounds simple, right? I can tell you now that it really is quite simple, but my first couple “experiments” were so messy and subpar that my mom essentially begged me never to make oat milk again.
My ingredients haven’t changed either. I’m not suddenly dishing out hundreds for “gourmet” oats or special gadgets, and I promise that you also won’t need more than basic kitchen staples to make stellar oat milk. So, what’s the secret?
Oats are partially composed of starch granules. When heated (such as while cooking oatmeal), these granules swell as they absorb water, a process otherwise known as starch gelatinization. Gelatinization is common to other starches as well, but it begins in oats at around 45 to 60˚C (a range, because I can’t seem to find sources that agree).
Starch gelatinization explains exactly why my first batch of oat milk came out gummy and slimy. The unreasonably thick oat lava also covered my hands, arms, and counter in a layer of goop. I didn’t deliberately heat the oat milk, but contact with the whirring blender blades and my warm hands led to an unpalatable mess.
Essentially, you’ll want to optimize the cold environment while making oat milk to avoid the onset of gelatinization. For me, this optimization looks like refrigerating all ingredients for at least a couple of hours before blending and straining—especially the water and sweetener (I use three soaked medjool dates). In a similar vein, I keep my blending duration to a minimum: 5-10 second increments, with 10 seconds of “rest time” in between. I strain as quickly as possible to get my milk back in the fridge, and I also cool my hands down with ice water before working.
That’s it! Really. Feel free play with the thickness by changing the ratio of oats to water, though I’d say to proceed with caution and adjust little by little. Achieving smooth, creamy, and fully non-slimy oat milk was truly a cathartic experience for me. However, despite the satisfaction of this success, I continued to look beyond and climb to new heights. Next stop: flavored milk!
Flavored milk
After understanding the thickening properties of oats, mastering the basics for an immaculate milk base follows without a sweat. It’s also the hardest part! You really can’t go wrong when experimenting with new flavors. Some of my favorite variations include:
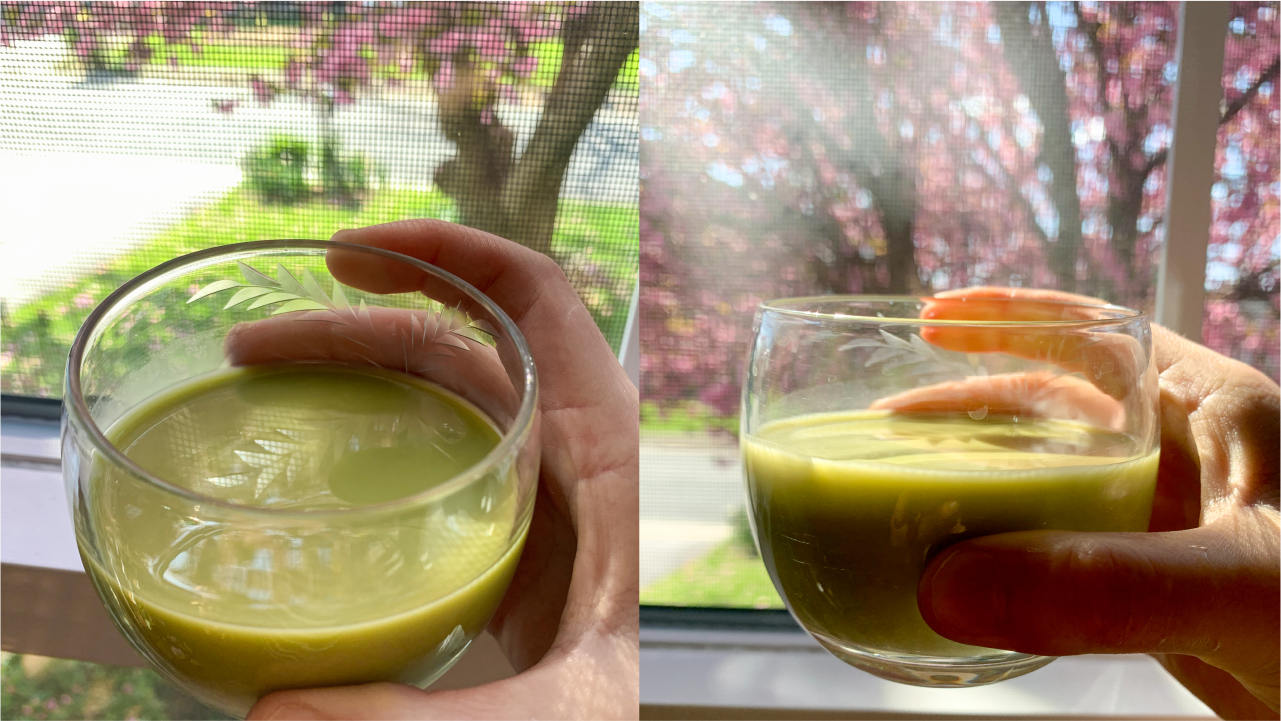
- matcha milk tea (1 tbsp of matcha powder)
- chocolate milk (2 tbsp of cacao powder)
- earl grey milk tea (use steeped tea in lieu of water)
- cold brew latte (1 tsp instant coffee)
- berry milk (bring berries to a simmer on the stovetop and then cool the liquid mixture in the fridge)
- red bean milk (use store-bought paste, or make your own—I used an Instant Pot!)
- cinnamon spice milk (1 tsp cinnamon, 1 tsp pumpkin spice)

Flavors I haven’t tried (but you definitely should) include black sesame milk and golden milk. Reap the extensive health benefits of turmeric! The doors are wide open, and I trust that you’ll discover even more ingenious flavors.
What to do with oat pulp
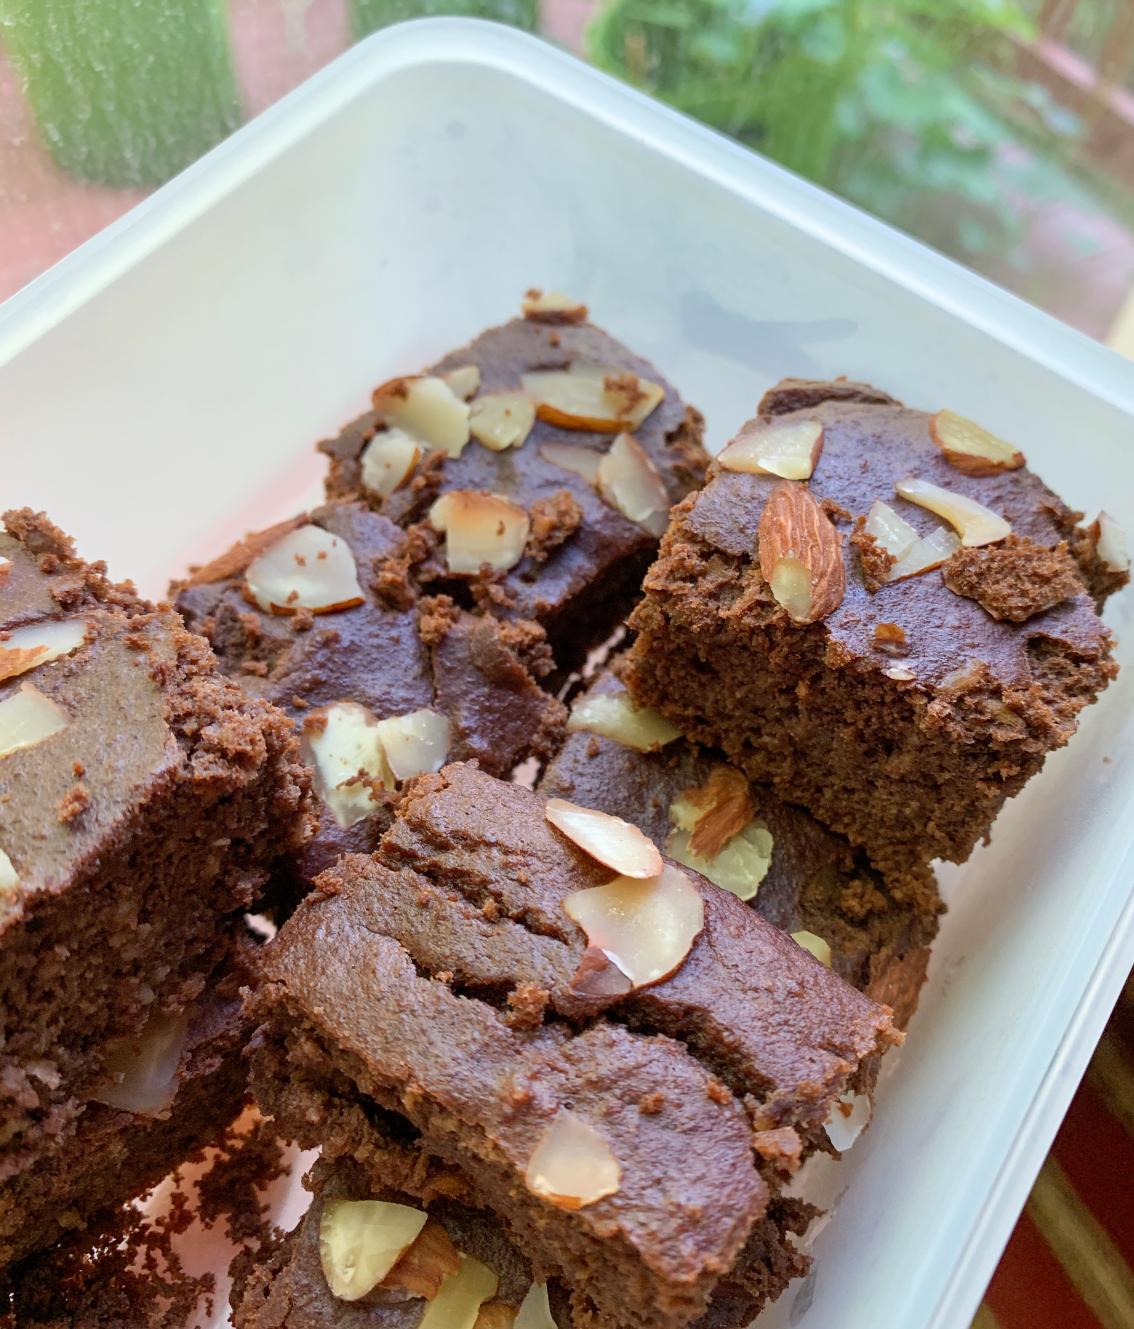
Perhaps you now have show-stopping lavender oat milk, but you’re still staring at the leftover pile of oat pulp beside it. Fear not! This slightly slimy glob is actually highly nutritious and easily incorporated into a variety of recipes. I’ve seen people utilize this pulp in dishes from cookies (only for those who eat gluten or have access to a gluten-free baking flour mix, usually) to guacamole, but I usually prefer to throw it in pancake and brownie recipes. Here’s my brownie recipe. It’s food processor-friendly!
Ingredients:
- oat pulp!
- 3 bananas (or another sweetener)
- 2 eggs
- ¼ cup oil (coconut, olive, etc.)
- ½ cup nut butter (I use peanut butter powder!)
- 1 tsp vanilla extract
- 1 tsp instant coffee powder
- 1 tsp baking powder
- 1 tsp cinnamon
- ¼ tsp salt
- 1 cup oat flour
- 1 cup almond flour
Instructions:
- Blend or mix it all together!
- Bake at 350˚F for 25-30 min.

If you make slight adjustments to the ratio (such as using ¼ cup sweetener instead of bananas), don’t sweat it! I’ve found that this recipe is extremely forgiving. In fact, you could hike the amount of flour and nut butter to make brownie-cookies instead. My winged attempt turned out amazing, just like the sandwich cookies from ice cream sandwiches.
For pancakes, adding in oat pulp is even more lax. Supplement your current recipe with this pulp for a fiber boost!
Additional notes
While this homemade oat milk is amazing cold or at room temperature, it’ll still cook up when heated. This means no steamy, creamy lattes unless you add stabilizers that prevent gelatinization. The good news is that most store-bought oat milk brands use stabilizers, so I rely Trader Joe’s oat milk for hot drinks instead.
On the other hand, there is a scenario where homemade oat milk is preferable to its store-bought counterpart, namely oat yogurt. Whereas we’re avoiding gelatinization while making oat milk, we actually take advantage of this thickening while making oat yogurt. With most non-dairy milks (almond, cashew, soy), we usually need a thickening agent to give the yogurt structure, whether it be pectin, agar-agar, or something else. Thankfully, oats have this property built in! Homemade oat yogurt effectively follows the same process as oat milk, but you don’t need to keep anything cold. The strained milk mix is simmered on the stove right after, anyway! I use this recipe, and it’s continuously served me well. It’s also super simple! Bring your mixture to 180˚F while whisking and without boiling, remove from the heat, and cool (while still whisking) until 115˚F. Finally, stir in the yogurt starter/existing yogurt, ferment in a warm place for at least eight hours, and enjoy!
So, this is it. Oat my goodness! I look forward to the new heights that you’ll bring this information to—new innovative techniques, visionary flavors, and groundbreaking recipes and applications. Wishing you my best :)